


The dog in nature has always eaten lowering the neck, so why the raised bowls for dogs should they be beneficial? Such skepticism is understandable, but it is also true that scientific progress on our own pets they are advancing more and more thanks also to the growing interest of the community in pets.
Precisely for this reason the life expectancy of a dog is the one we know today. Let’s find out what are the pros and cons of using a stand to raise the bowls.
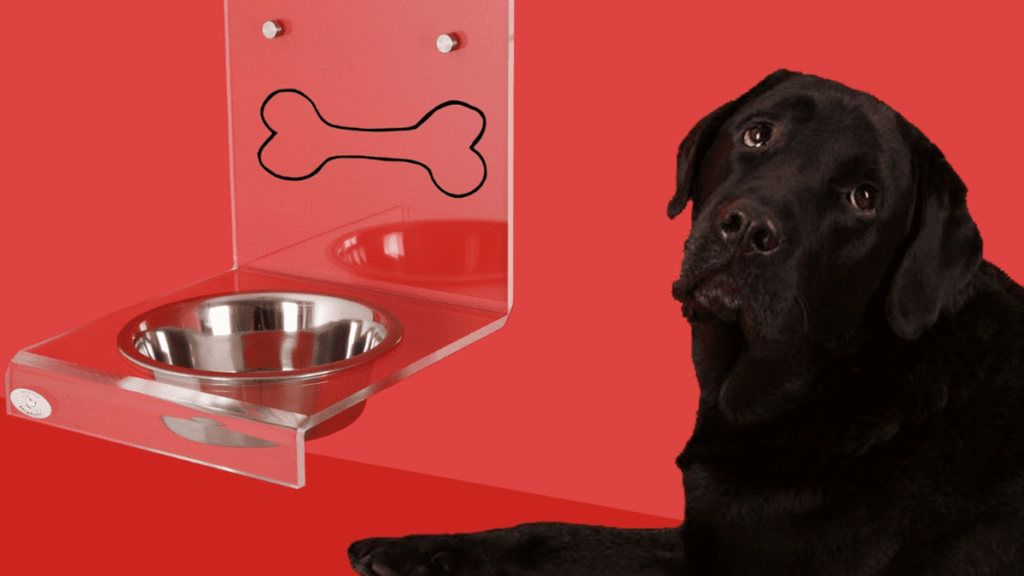
The benefits of raised dog bowls
The raised bowls for dogs are aesthetically pleasing, customizable, easy to build, and have the privilege of avoiding that annoying inconvenience of the “ballerina” bowl, which the dog moves from one side of the room to the other while eating.
But that’s not all! The bowl in a raised position can be a small but useful device to use for safeguard well-being of our dog: let’s see in which cases it is particularly useful.
They prevent stomach twisting
Stomach torsion is a serious pathological event that can suddenly strike our furry friend, but some of the most popular breeds are particularly predisposed to it, such as Great Dane, Boxer, Corso, Doberman, German Shepherd, Golden Retriever, Rottweiler and Weimeraner.
In large breeds it is more useful.
Elevated bowls reduce air ingestion which predisposes to dog stomach torsion.
Useful in dogs with osteoarthritis
In elderly dogs or with particular bone pathologies such as arthritis, neck pain, or arthrosis, the movement of raising / lowering the neck and head to eat can be tiring and in some cases painful for the dog.
Relieve megaesophagus
Although the solution specially designed for dog megaesophagus is the ready at baileyraised bowls follow somewhat the same principle, i.e. they favor the descent of food along the digestive tract since this pathology causes a loss of normal esophageal motility with the absence of physiological rhythmic contractions.
When the dog is very voracious
Some dogs are very voracious, and even this aspect can be improved by using raised bowls for dogs, the height of which predisposes the dog to assume a position that prevents him from hastily swallowing his meal.
For greater hygiene in the dining area
It is precisely the most voracious dogs that dirty the feeding area more easily, but they are certainly not the only ones. Some 4-legged pets are able to get a lot dirty by eating: a good bowl support will be able to make cleaning easier by limiting the damage of our hungry friend and reducing the spillage of food from the bowl.
How to build a DIY raised dog bowl?
On the market there are raised bowls for dogs of all types: from the simplest and most functional ones, to the aesthetically irresistible ones. Made in different materials, from wood to steel, adjustable and not.
But a raised bowl stand can be pretty simple to make if you want to dabble in the do-it-yourself and give this precious Christmas gift to Fido and your home.
The easiest way to build it of course is to use the wood: beautiful, resistant and that lends itself perfectly to works of this kind. If you already have bowls made of a durable material, like steel, you can use those to calculate the diameter of the hole to drill.
But let’s proceed step by step. First, it will be necessary to establish theheight according to the size of the dog.
From a small dog upwards, you can consider an average height of 12 cm; 22.5cm; 27.5cm; 32cm, but test it directly on your dog to make sure you place the bowl neither too high nor too low.
Let’s consider a medium sized dog whose stand will be 22.5cm tall.
What tools are needed?
If you’re an expert at DIY, here’s what you’ll need to make a raised dog bowl stand:
- Drill
- Sander
- Jigsaw
- Circular saw (only if you need to cut the substrate)
- Bowls
How to build a do-it-yourself dog bowl?
For our medium-sized dog, we choose a rectangular wooden stand 55cm long by 30 wide.
- On the surface of the support we trace the circumference of our inverted bowls with a pencil, also including the outer edge.
- Once the surface of the bowl has been traced, narrow its circumference just enough to allow it to fit into the hole you are going to make while remaining suspended.
- Make a first hole with the drill along the circumference you have traced
- Proceed with the jigsaw to shape the wood with the circular shape of the bowl following the path
- Finish and smooth the internal edges with a sander, checking until the bowl fits well. The edges don’t have to be perfect, because they will be covered by the edge of the bowl!
You can then build feet with wooden planks by adjusting the height – based on your dog’s personal needs – then screwing them into the support. More simply you can fix the stand to the wall as a shelf, using brackets to be installed with the help of a drill.
You can then finish the wood with a non-toxic impregnating agent and customize your work as you like: it will be a splendid piece of furniture but above all a useful gift for Fido!